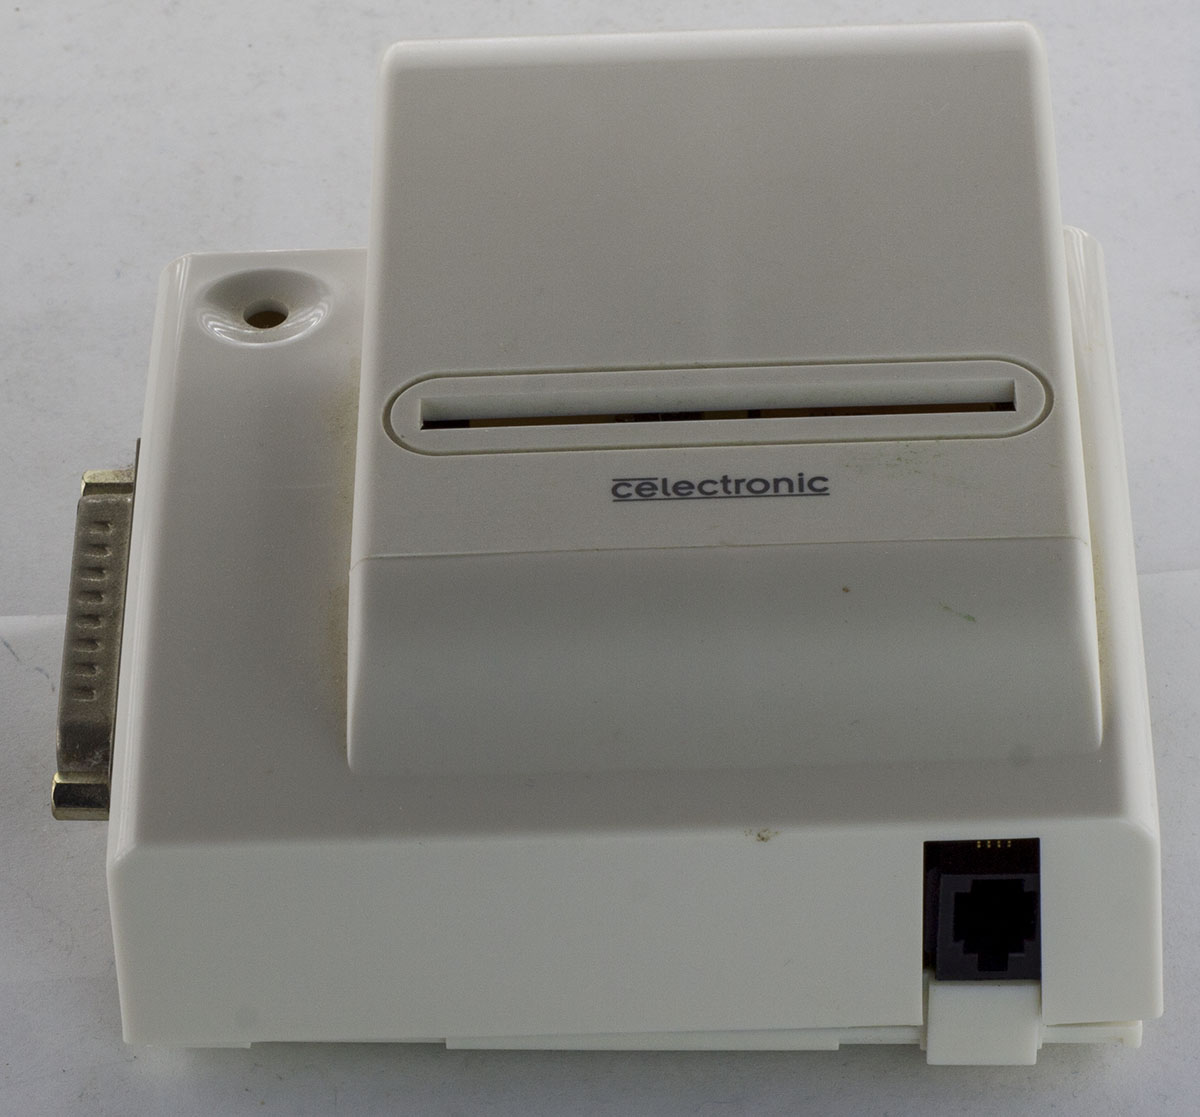
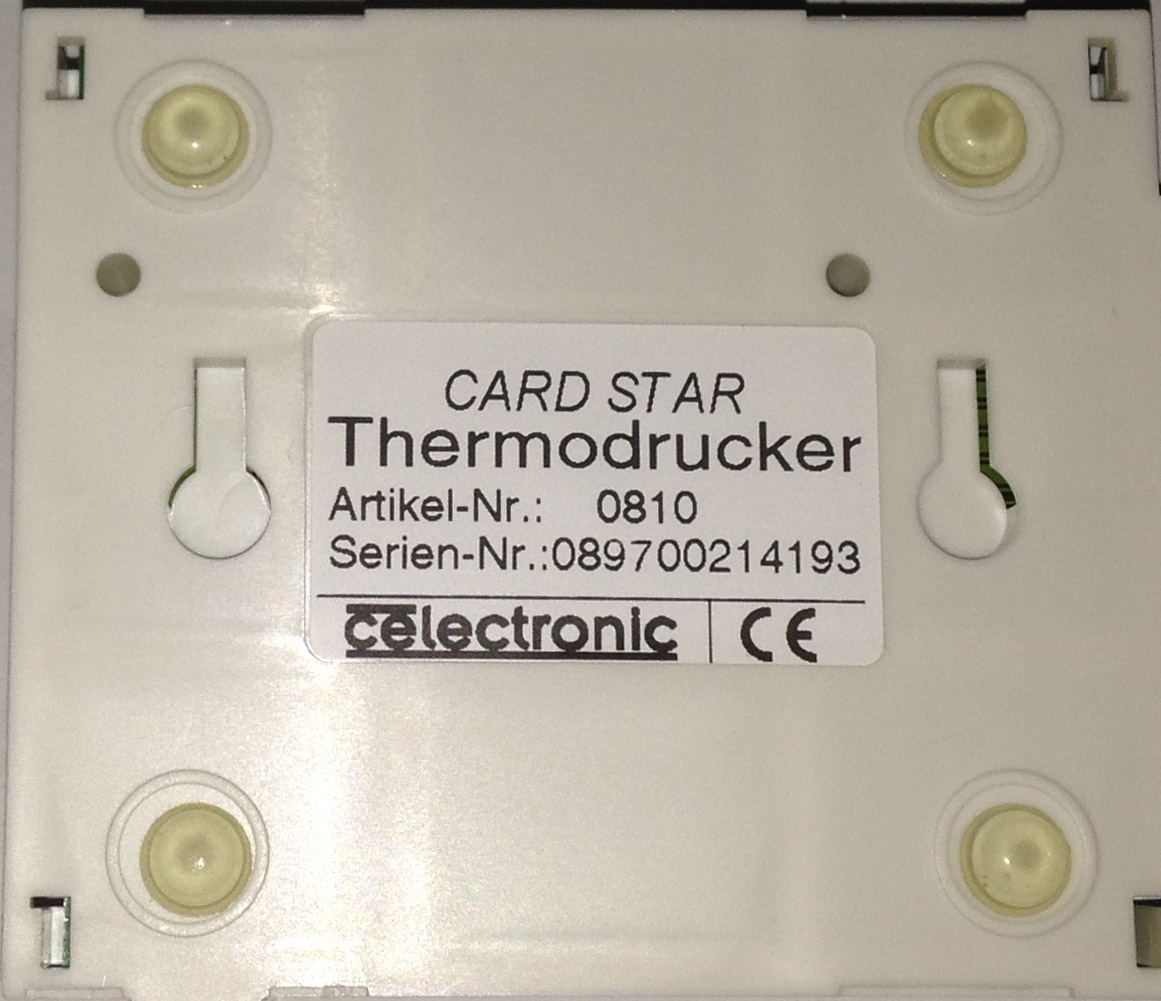
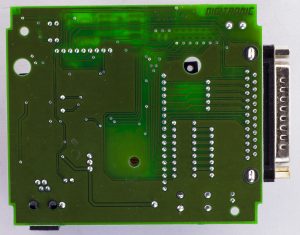
Just a quick one today, we’ll be looking at the Card Star Thermodrucker thermal printer, a low cost parallel thermal printer, I wonder how old the design is as it has a parallel port. I picked it up on Ebay about 2 years ago now to use for address labels when mailing out items. There seems to be low cost USB thermal printers for not that much more.
With the printer I got a parallel to USB cable and an overseas AC adapter rated for 9V AC at 300mA, I’ve been wanting to change the adapter for something else, so we’ll have a quick look at doing that too.
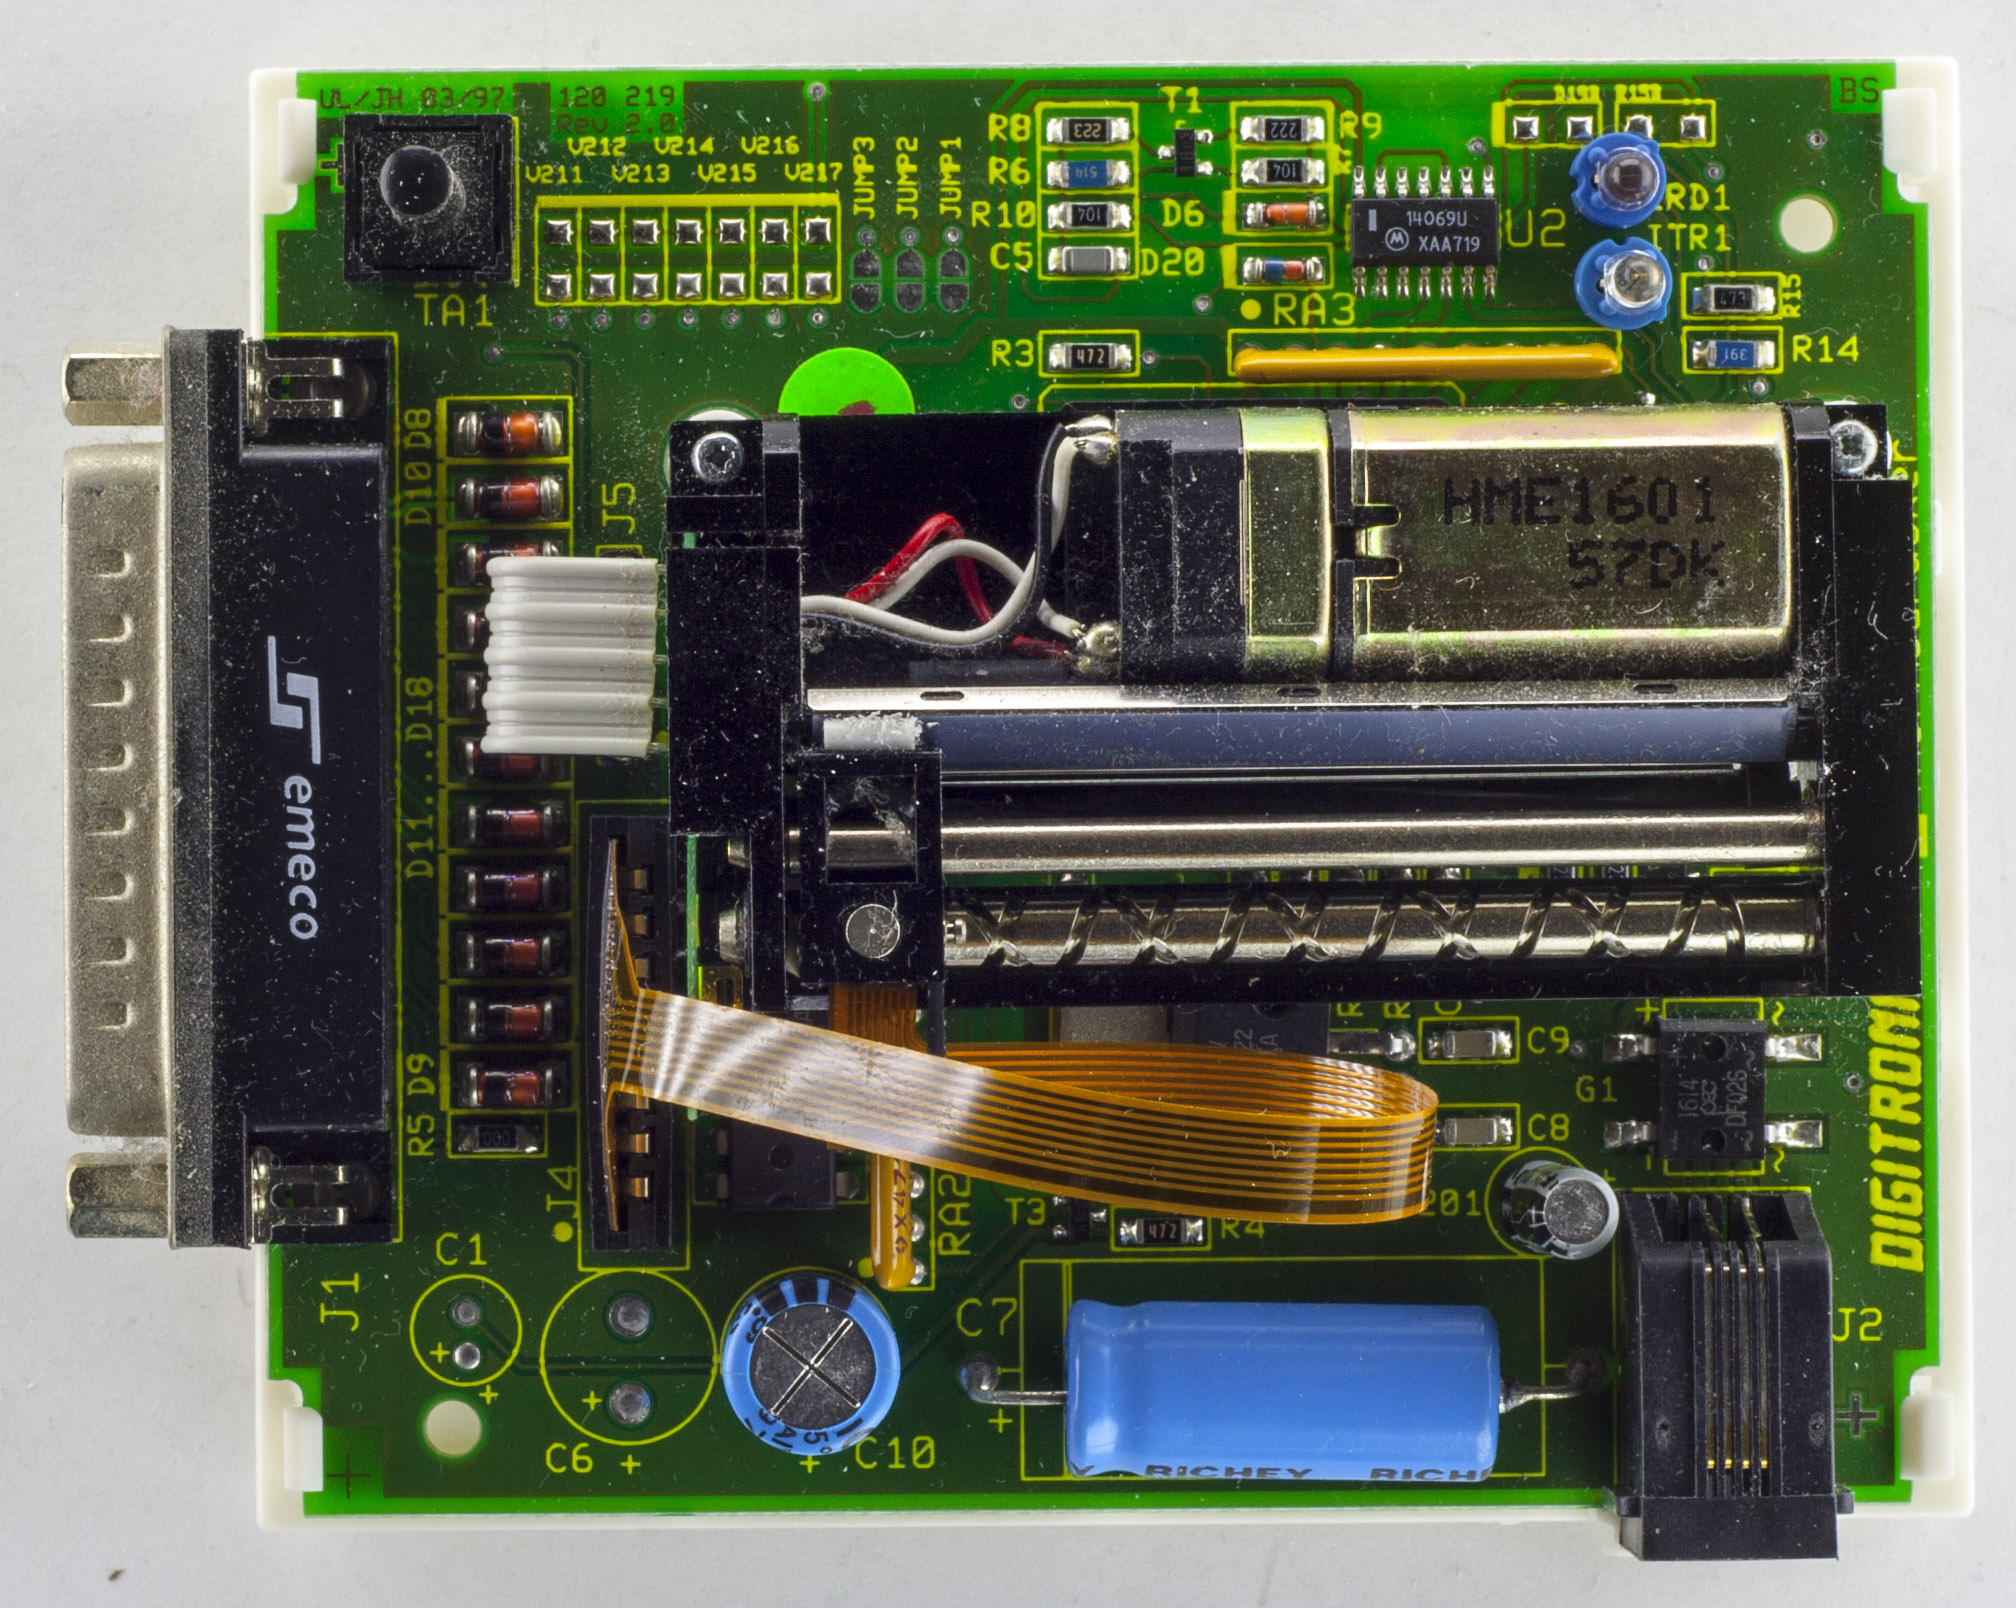
A few clips later and we’re in. We can see the thermal print head and motor sit above the PCB, held in place by 2 screws/risers, the print head connects via a flat flex cable and the motor just through some wires. There are some decent sized capacitors, Richey 1000uF 25V and Richon 1000uF 6.3V and we have zener diodes on some of the parallel port data lines. The PCB date code is 03/97!
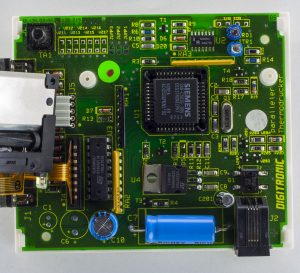
Once we remove the print head/motor, we can see the main chip is the Siemens SAB-C501G, an 8-bit 8051 MCU which can run at 12/24/40 MHz with 256B of RAM, 8Kbit ROM, 4x 8bit ports, 3x 16bit timers and USART to name a few features. For an MCU like this back in the day, it wouldn’t have been too bad at all. The PCB says Digitronic and so does the MCU, I guess they had them programmed at the manufacturer.
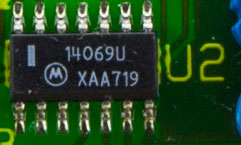
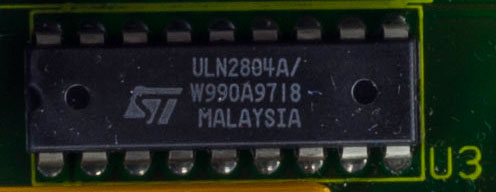
There are 2 other chips as well, the Motorola 14069U Hex Inverter and the ST ULN2804A Eight Darlington array which looks to be driving the print head directly.
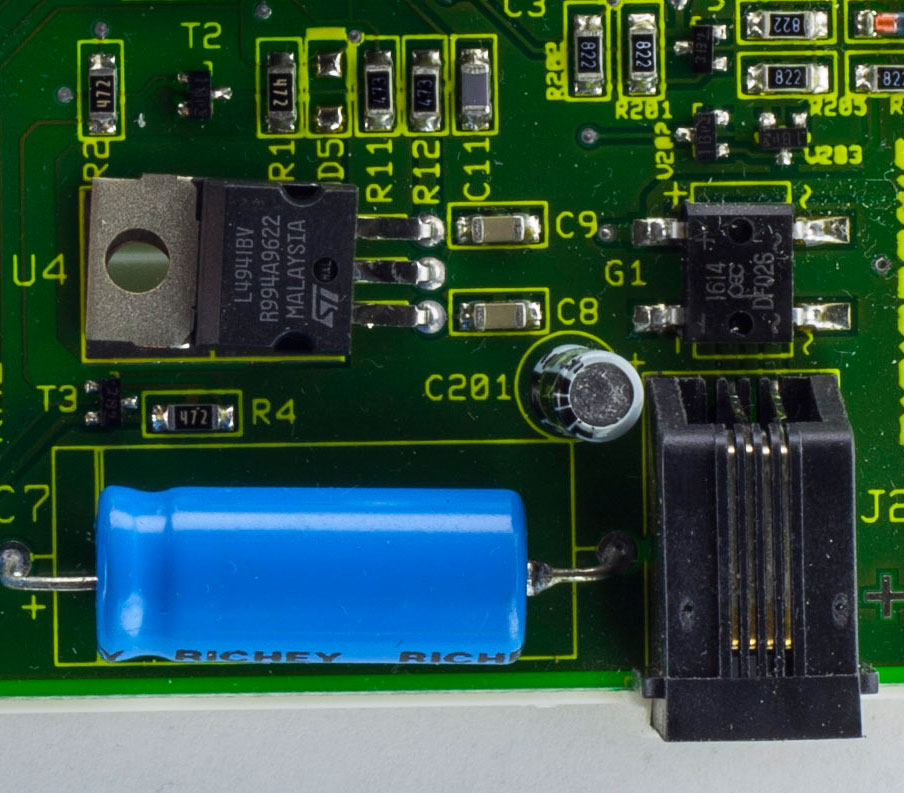
Lets take a look at the power supply side, they are re-using an RJ11 connector to feed in the power which goes to an bridge rectifier and gives 14.7V out and the 1000uF capacitor is connected to this too. An ST L4941 LDO gives out 5V to all the components. My only concern was the motor, perhaps it needs a specific voltage. I connected 8V to the 1000uF capacitor and everything worked then I reduced it to 5V and it’s still all good, so now I can change the AC adapter to a 5V DC one.


Something mildly interesting: Thermodrucker is just german for thermal printer.
So to to clarify, the 1000µF 25V is parallel to the output of the rectifier and the 1000µF is parallel to the output of the LDO. The motor is also connected to the LDO output? Or to somewhere else? You applied the 8 and then 5 Volts to the rectifier output (i.e. LDO input?)
It’s a bit hard to understand because you always write 1000µF but both caps are 1000µf 🙂
But if the motor is also driven directly by the 5 Volts of the LDO output then couldn’t one bypass all the rectifier + cap, LDO +cap and apply 5 Volts DC directly?
It should stay beneath 1 A, maybe that 6.3 Volt cap can stay to help for peaks?
bastel
Hi Bastel, my bad I can see how that was confusing, I was playing around with the voltage 8V, 5V on the 1000uF 25V cap which was the input side, here’s a picture – https://www.insidegadgets.com/wp-content/uploads/2018/01/IMG_1525_1.jpg
One wire of the motor does appear to be connected to the LDO output so yes likely it’s all running off 5V from the LDO. Yep so you could apply 5V to the LDO output directly, I just choose the easiest way and soldered the wires to the 25V cap.
Thanks!
The datasheet of the LDO says something about 6 V min, with 5 V it will output something like 4.5 Volts. Hmm, probably putting in a USB mini port somewhere. Or steal it from the USB to Parallelport cable, should be no problem if used with a high current usb port. The 1000 µF might be too much for inrush current, though.
One usage will be somewhere where 12 Volts DC are available, though. That should work fine with the rectifier and all.
Hey!
Does someone have a windows driver of this printer? mine came with nothing watsoever,and online doesn’t seem to be one
Thanks
Hi Potito,
I don’t think there are any drivers required, you have to add a new printer, select the COM port and then select the Generic > Generic Text only. For me, the printer was sometimes a bit hit or miss as to whether it printed.
I switched to a Brother QL-570 which works really well.