My small bench is located in one corner of the living room next to a sliding door so soldering fumes didn’t appear to be much of an issue when I had a fan blowing the solder away from me.
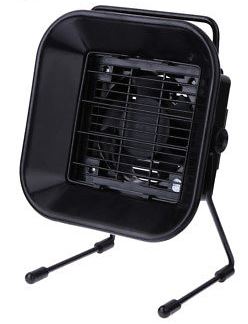
I thought it was probably time for a small upgrade so I bought one of the Solder Fume Extractor’s from Ebay, $24 locally, a bit pricey for what is it. Once I received it, it seemed to work fairly well, the distance you could be away from it and it still suck the fumes was around 15 to 20cm. If you didn’t want it that close, you could always use another fan to gently blow towards the fume extractor or use some materials to focus the suction of air.
After using it for 10 minutes, the fan started to smell and was getting a bit hot too. I left it running for an hour but still had the same issues, ugh, so it was time to take it apart and see what I can swap out.
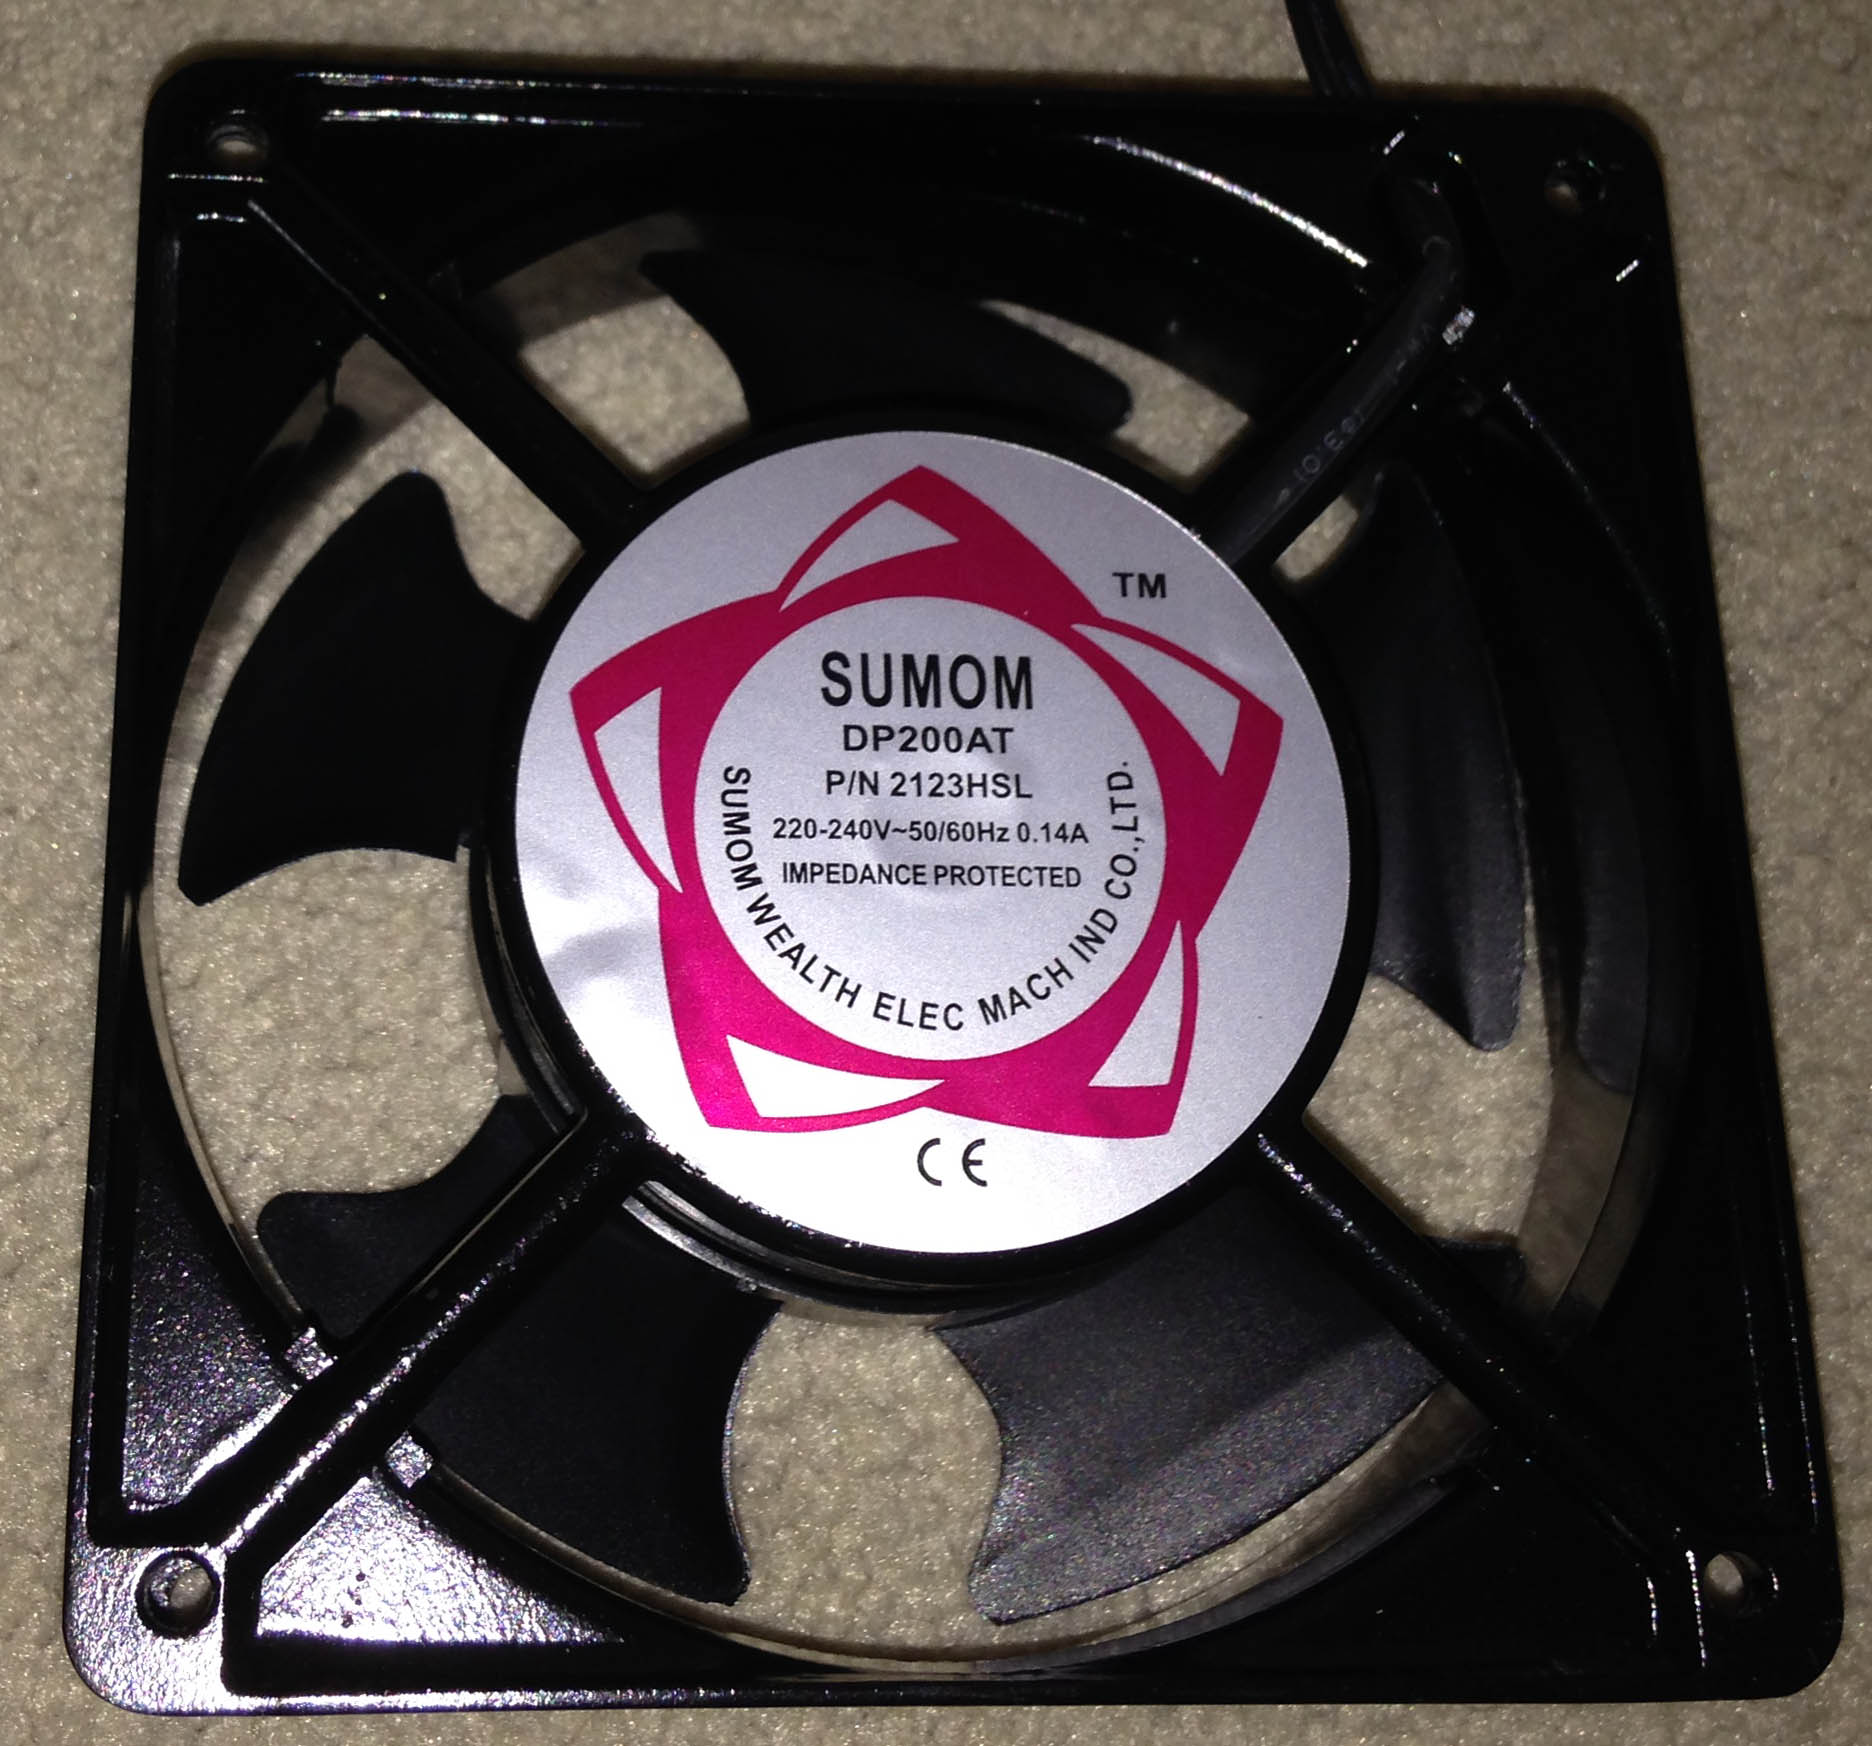
The device has the AC power cord going directly into it, so I thought they might have a AC to DC converter with a DC fan. That wasn’t the case, upon unscrewing the 4 screws at the front, it’s an AC fan. Power is just running though the switch to the fan.
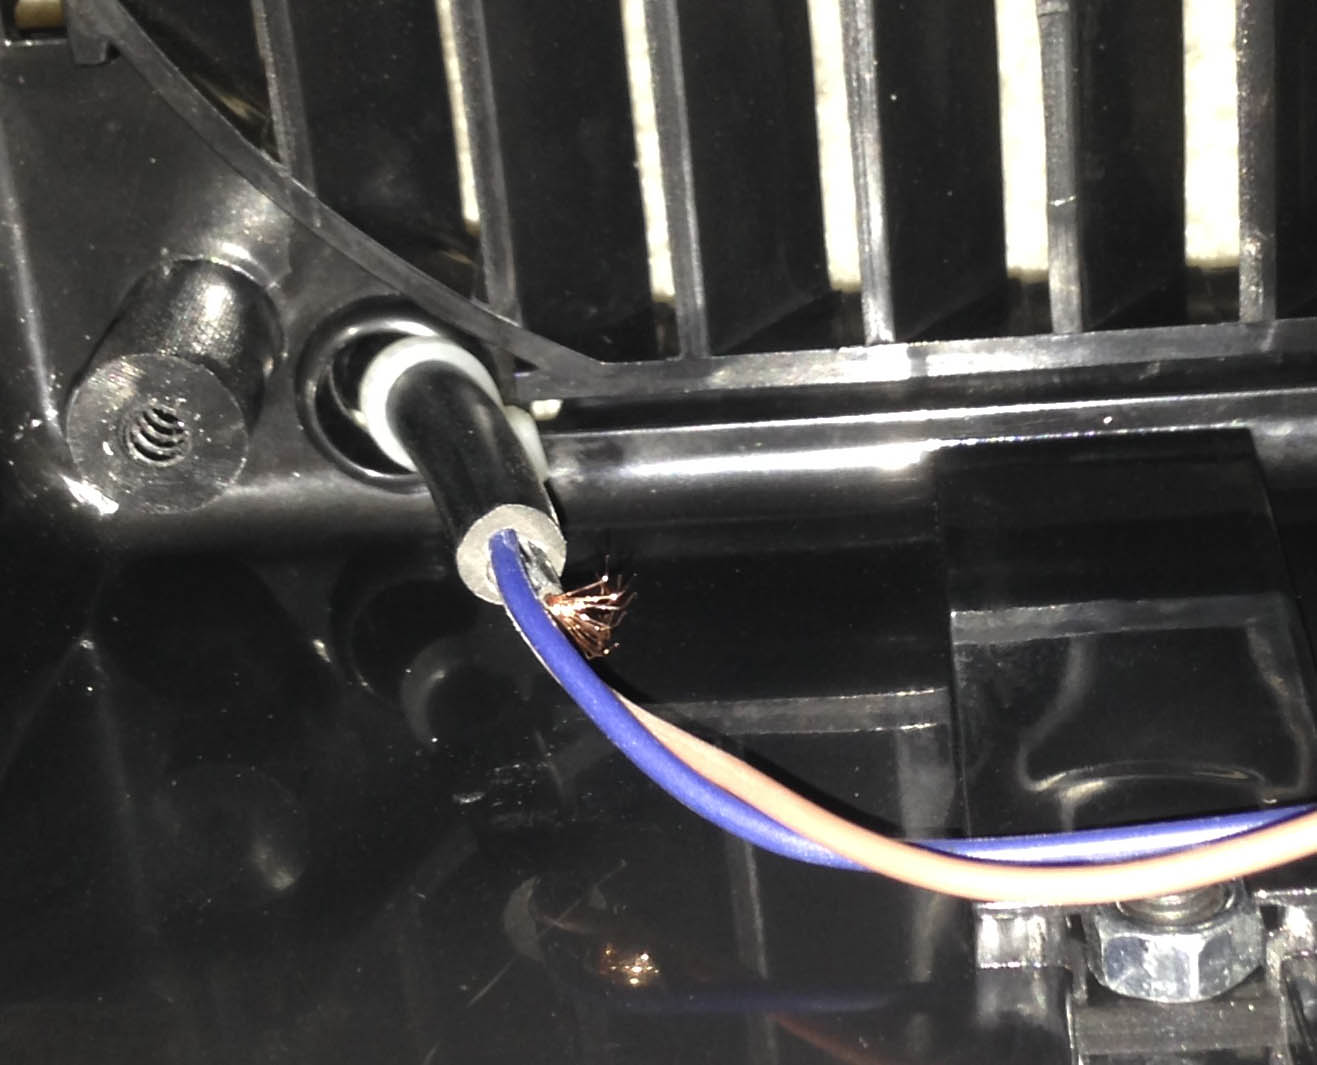
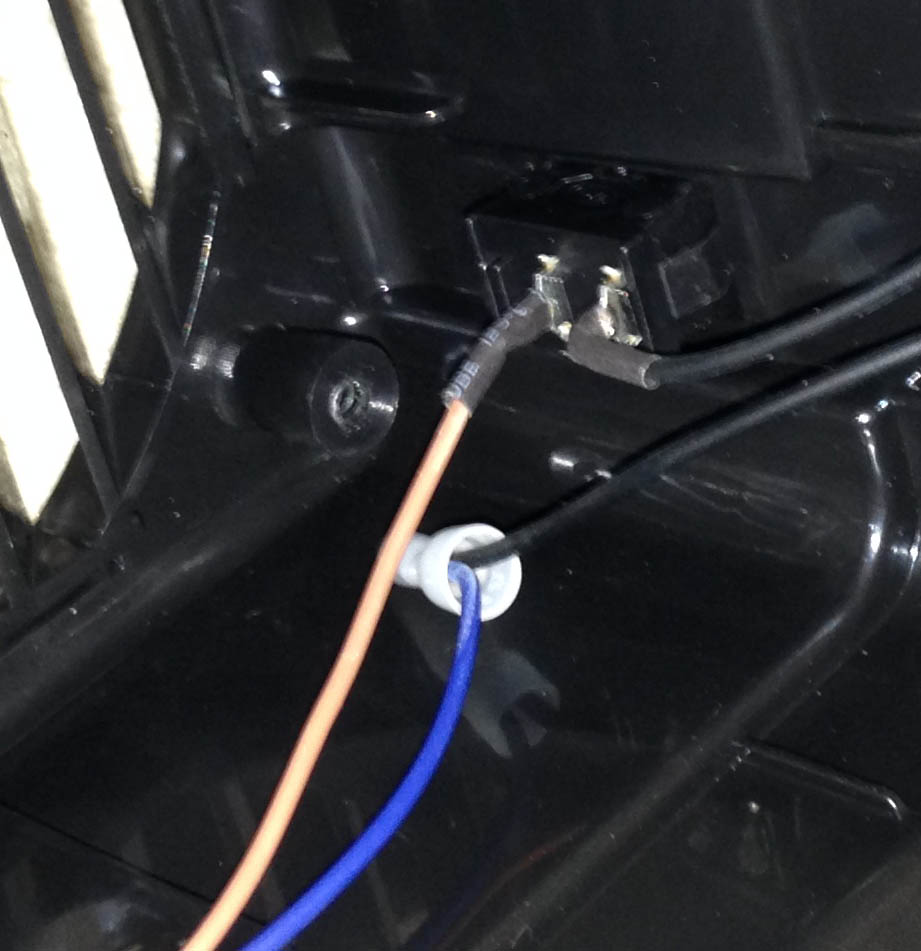
Wiring could be better, the power cord is held in place with a zip tie, they just have the earth exposed (though there really isn’t any metal, it’s mostly plastic), there is heat shrink on switch connectors and a weird crimp for one of the fan leads.
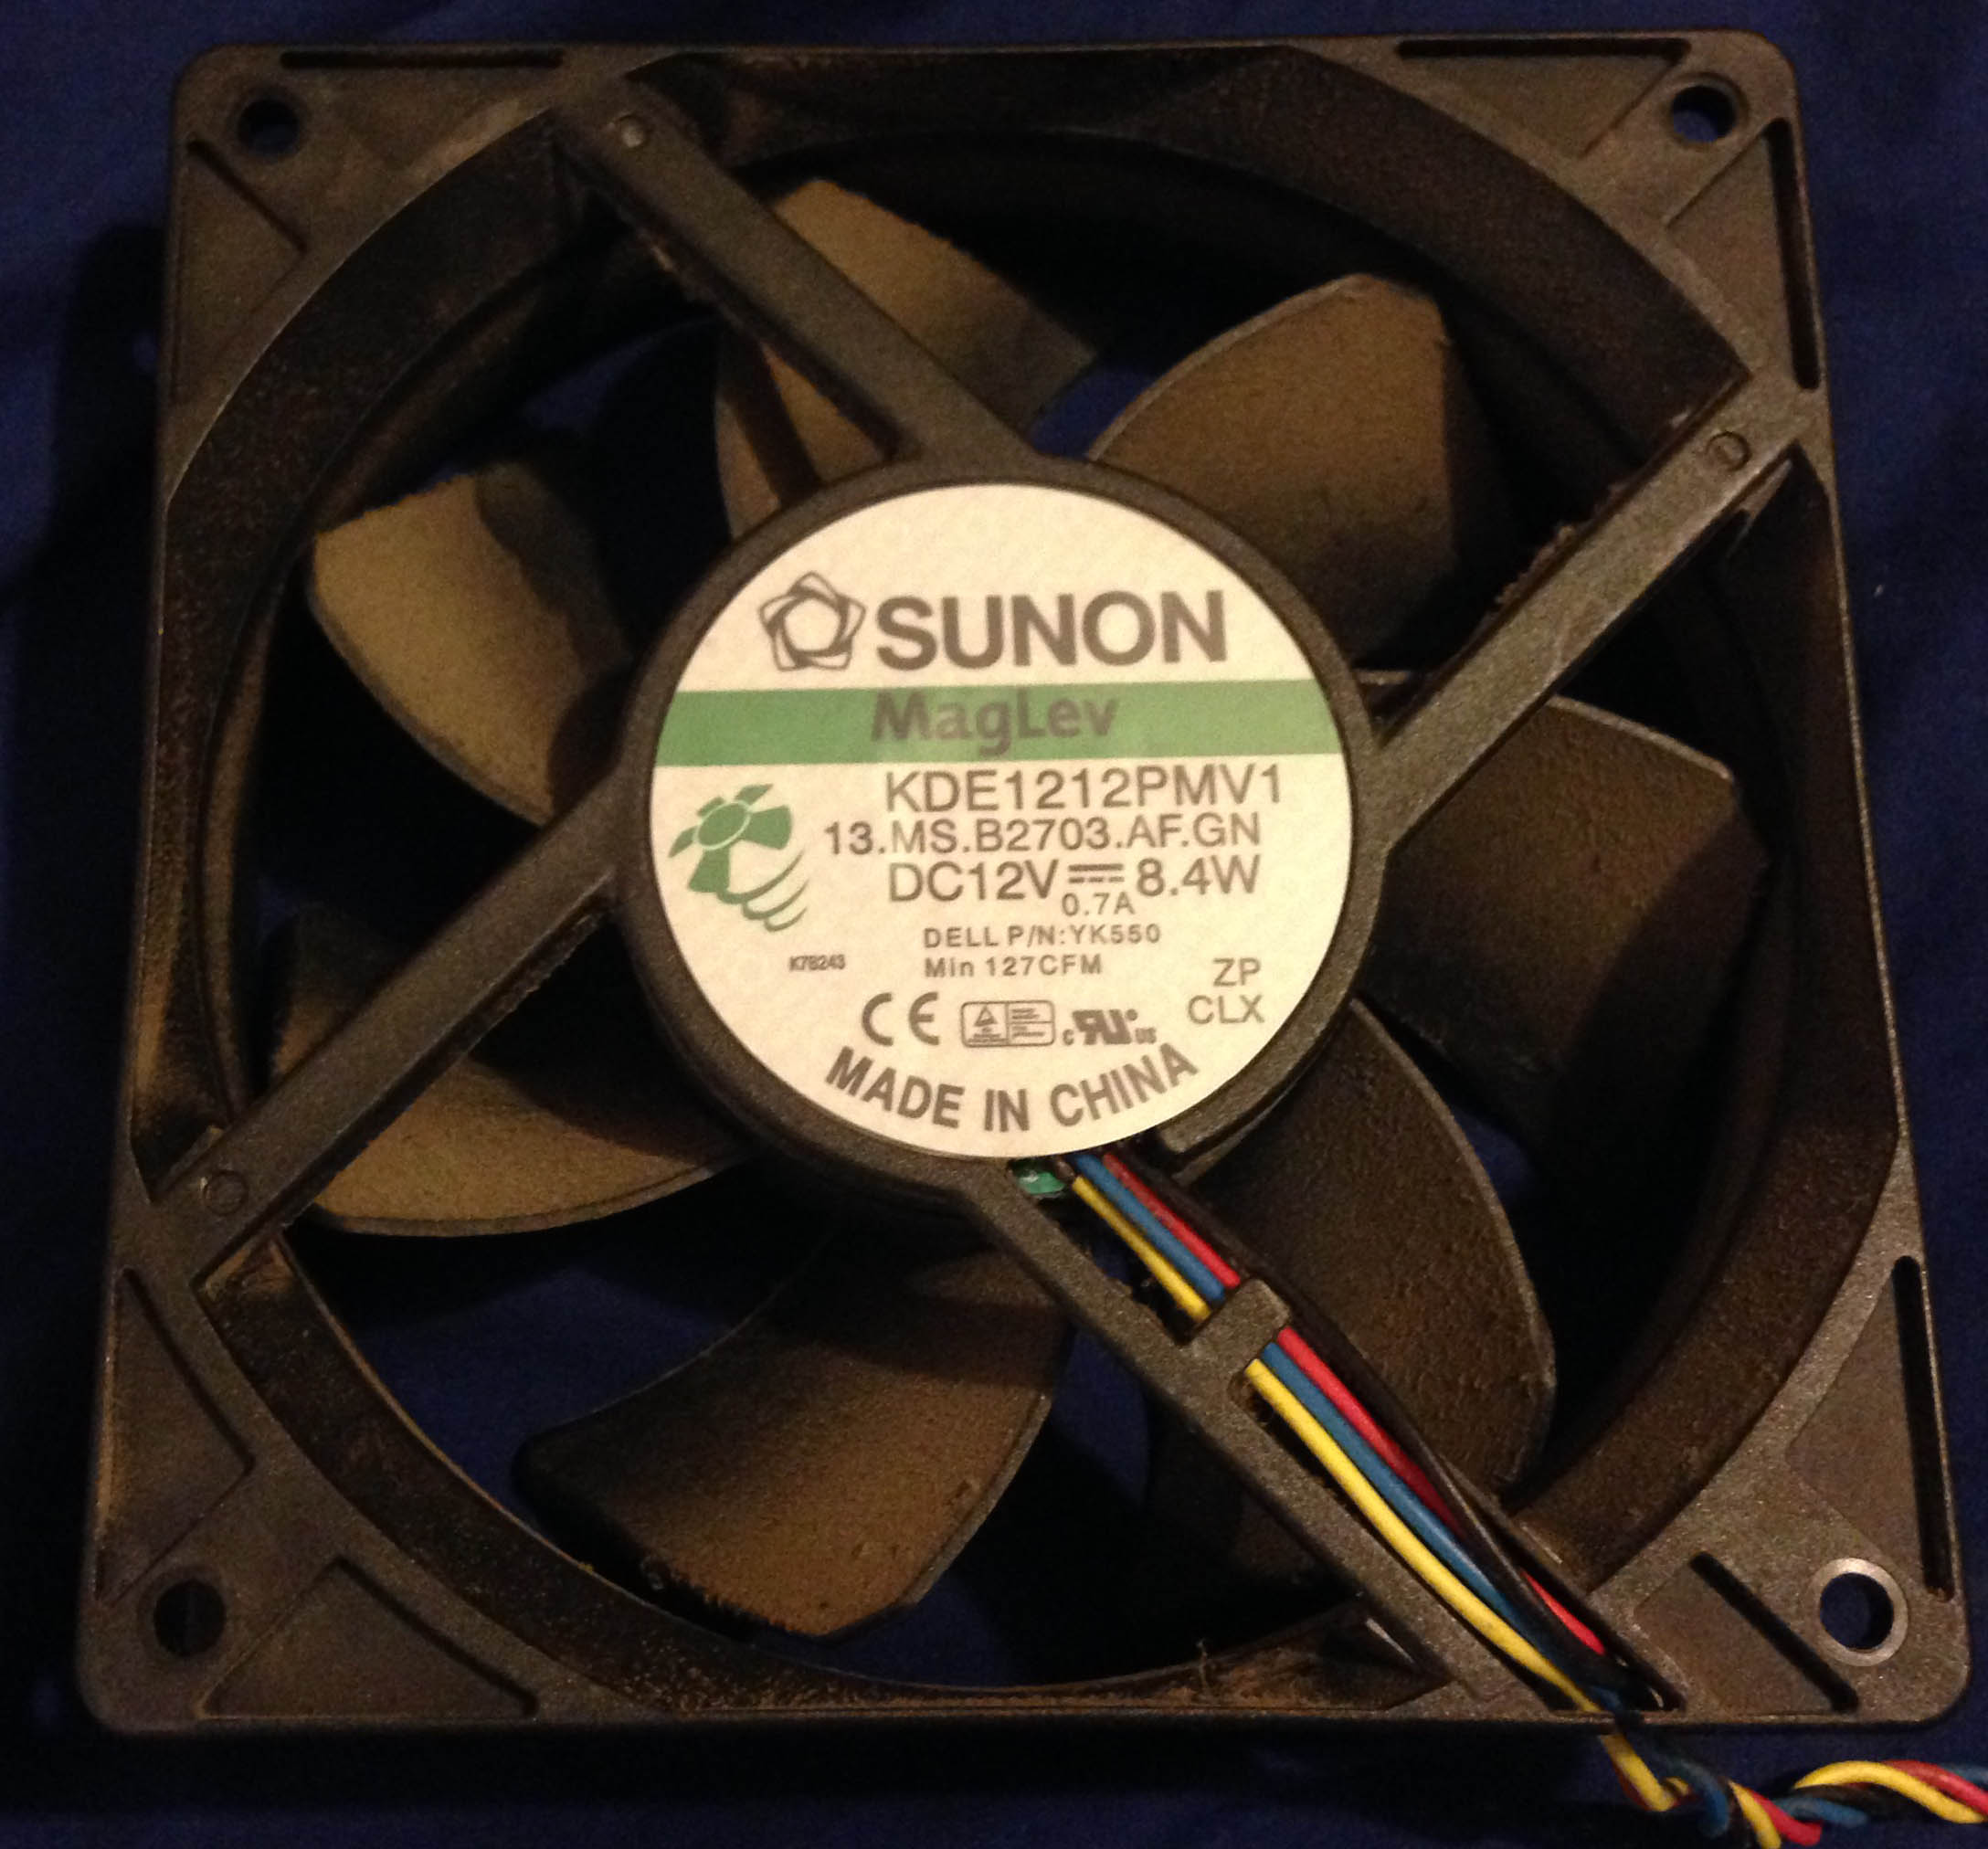
Luckily the first DC fan I picked up which I had spare fit in perfectly. I cut out all the AC wiring and just have the fan powered by an power adapter set to 6V DC which is a good compromise of sound to air suction.
I wouldn’t buy this again, what I was left with was just the frame and carbon filters. It would be better to buy the carbon filters from Ebay or similar for a few dollars, use a spare fan you might have and if you had a 3D printer, you could print your own fan and filter holding design, maybe there’s a design out there already.


I particularly like this design: https://hackaday.io/project/34162-solder-fume-extractor-battery-usb