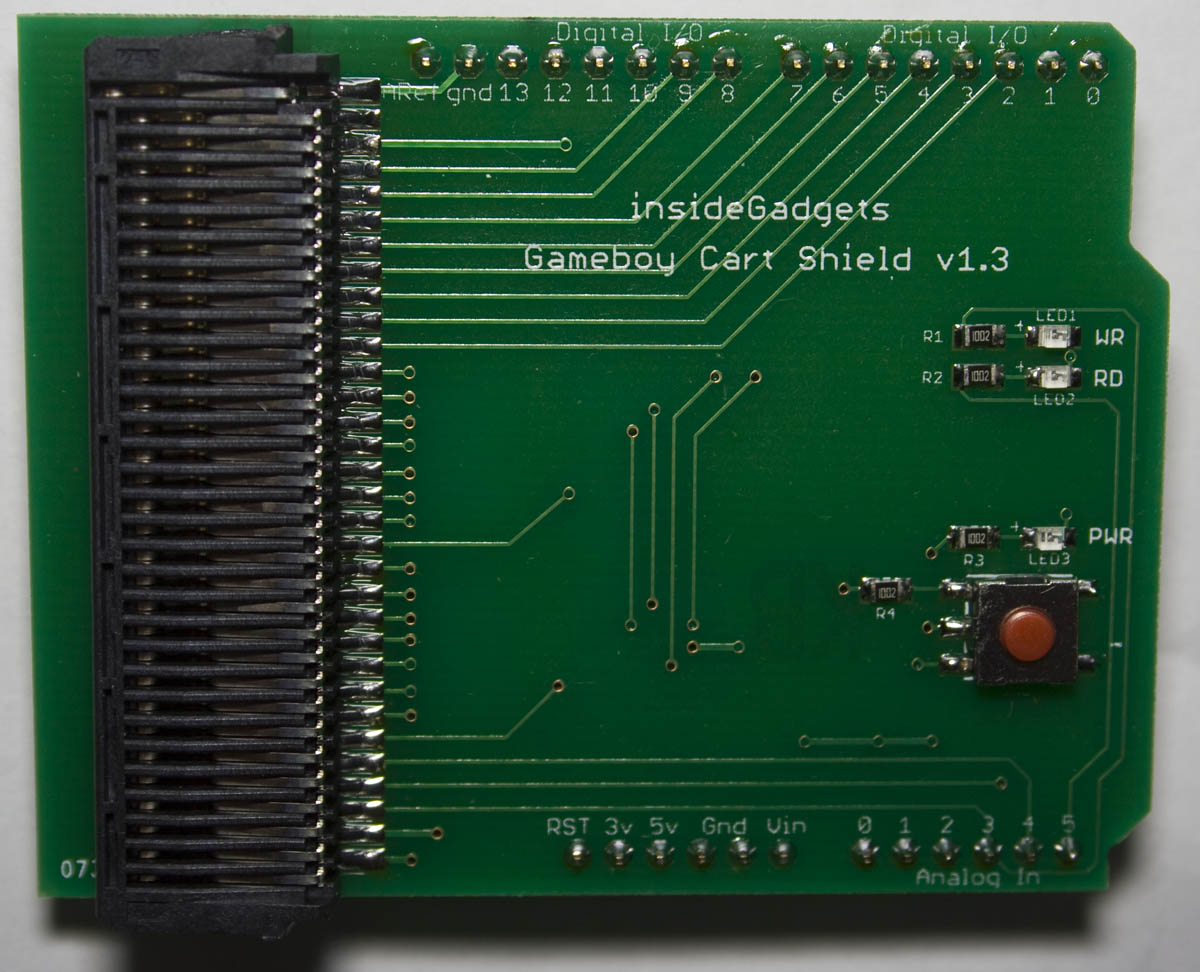
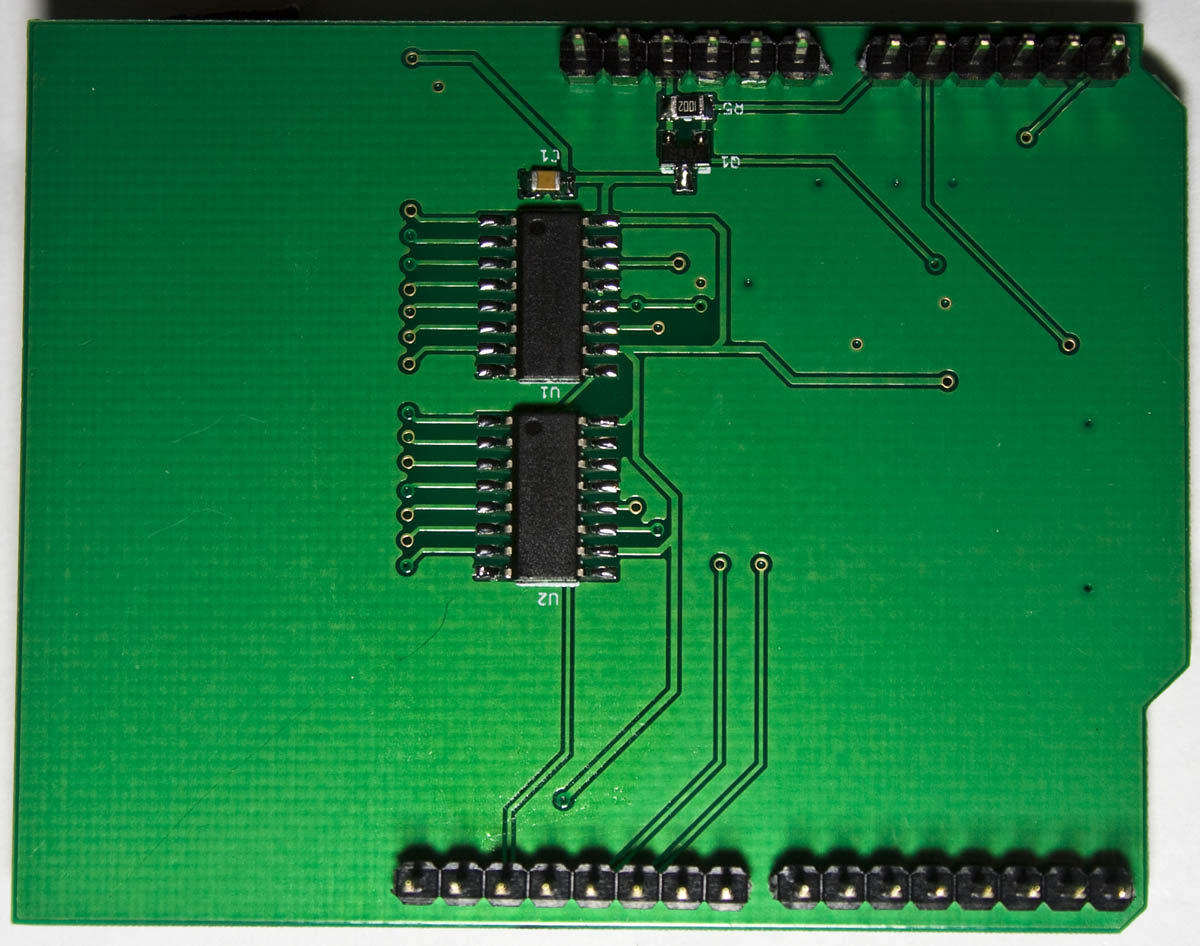
The Gameboy Cart Shield has now been updated to v1.3 which allows us to increase our speed by using SPI to communicate to the 74HC595 shift registers and also features a power button which allows us to switch cartridges without having to unplug the USB cable and supports the Gameboy Camera now. Previously I used to only provide the PCB / assembled version but I’ve decided that I’ll also start providing the kit version too now that there’s a bit more parts to it (will be in stock in 1-2 weeks).
I’ve had two users contact me with various improvements that could be made – the biggest ones were using SPI, increasing the baud rate, a cartridge sensor idea and a bug fix for reading the cartridge title so I updated GBCartRead to v1.6 to included these improvements.
// Before
digitalWrite(latchPin, LOW);
shiftOut(dataPin, clockPin, MSBFIRST, (shiftAddress >> 8));
shiftOut(dataPin, clockPin, MSBFIRST, (shiftAddress & 0xFF));
digitalWrite(latchPin, HIGH);
delayMicroseconds(50);

// After
SPI.transfer(shiftAddress >> 8);
SPI.transfer(shiftAddress & 0xFF);
latchPin_low;
asm volatile("nop");
latchPin_high;
Instead of using shiftOut, digitalWrite and the delay, we’re able to use hardware SPI to increase the speed and after testing the latch timing, 1 nop wait is all we need. I’ve replaced all digitalWrites and changing the DDR/PORTs directly for switching between inputs/outputs and high/low.
Before the baud rate was set to 57600 and when trying to increase that to 115200 back in GBCartRead v1.5 or lower, I couldn’t really see that much of a difference however now that we’ve optimised the code, switching to 115200 made a decent improvement. One of the users that contacted me switched the baud rate to 460800 (with their own optimisations) and noticed a huge improvement but when I tried 460800 it didn’t work for me so I scaled it back to 400000 (nice even number).

At first I didn’t think the baud rate of 400000 would work as it wasn’t one of the pre-defined rates however it seemed to work just fine. I checked the Arduino Duemilanove’s FTDI FT232 chip and sure enough it has a programmable baud rate generator which can range between 183 baud to 3 Mbaud. I tested this on the Arduino Uno which has an Atmel Atmega8/16U2 instead of the FTDI chip and it also works just fine. We’ve also switched from reading 1 byte at a time and then sending it over serial to to reading in 64 bytes of data in and then sending those 64 bytes all at once.
char gameTitle[15];
for (int addr = 0x0134; addr <= 0x143; addr++) {
  gameTitle[(addr-0x0134)] = (char) readbank0Address(addr);
}
Previously when setting up to read the game title, I initialised the array for 15 bytes but actually read in 16 bytes, so we had a buffer overflow, this probably explains why in the rare case the game title would have random characters at the end. A C static analyser like Cppcheck would have caught this issue – I’ll have to get into the routine of checking all my code.
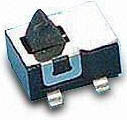
It was suggest to me that it would be nice to have a cartridge sense switch like the N64 Transfer Pak Gameboy header has. This would potentially involve a very small detector switch, which would engage when the cartridge was pressed down and inserted, the problem is that I couldn’t find such a switch – it would need to be the height of an SMD 0805 resistor.
if (PINC & (1<<PC0)) {
  SPI.end(); // End SPI
  rd_wr_mreq_off(); // Set everying low
  latchPin_low;
  dataPin_low;
  clockPin_low;
  _delay_ms(10);
  asm volatile ("jmp 0"); // Jump to address 0 (soft reset)
}
else {
  SPI.begin(); // Setup SPI
  SPI.setBitOrder(MSBFIRST);
  SPI.setDataMode(SPI_MODE0);
  SPI.setClockDivider(SPI_CLOCK_DIV2);
}
I went for the next best thing – a power button with a P mosfet and listening for the pin interrupt. Once the power button is pressed and it’s in the on state, we turn on SPI. Otherwise we turn off SPI, turn off the pins like RD, WR, latch, etc and then jump to address 0. Initially I was looking at using the watchdog reset however it appears that once it resets, it keeps resetting, the fix is to upload a new Arduino boot loader but I didn’t want to have users need to do that.
I also got around to doing a video describing how to use the Gameboy Cart Shield too.


This is nice, good work.
How long does it take to dump a typical size cart with the speed increases?
I’m always looking for ways to get speed increases.
Hi Porchy,
For a 1MB cart, it’s now 27 seconds.
Hi, I went looking to buy your GBC Cart Shield and found the currency is USD, but you have send you send it through Australia Post?
Hi Michael,
I’m in Australia – originally it was in AUD$ however most of the parts I buy are from the US so with the exchange rate changes a few months ago, it’s easier to switch to US$ rather than having to update the AUD$ price every now and then.
Are you willing to sell the Gameboy Shield for $17 Australian dollars, plus shipping?
I’m still learning electronics.
Dose the mosfet work as a switch providing power to the cartridge and the shift registers as a electronic switch.
Hi Michael,
Yes that’s right, it acts as a power switch so when the button is pressed, it allows current to flow through to the GB cart and the shift registers.